How to germinate a pine cone from seeds? In water? In a pot? Or in the ground? Why do pine cones close up? And finally, how to maintain a pine cone?
I- Can I plant a pine cone
Planting a healthy pine cone entirely instead of the seeds themselves in the ground is more productive.
This is because the seeds inside the cone are more protected inside and tend to produce more positive results than planting the seeds directly.
But, you can always plant the seeds directly, and if you follow the proper germination method using healthy seeds, you will surely have a good tree after a few weeks.
II- What you will need
- Shovel
- Garden spade
- Tarp
- Garden gloves
- pine cones
- Plastic bag
- Sand
- Peat moss
- Potting soil
- Pots
- Water
III. How to germinate a pine cone seeds?
1. In water:
An experiment proves that completely immersed in water, the scales of pine cones closed. It is practically impossible in these conditions that they germinate.
However, you can use water on pine cone seeds. Although the water will not directly germinate the seeds, it will help them in the process.
Start by collecting pine cones and drying them until their scales open. Collect the seeds, and lock them in a clean jar full of water for 24 to 48 hours.
You will be able to get rid of the unusable seeds, which will float on the surface of the water.
Use in the 3 to 6 mm thickness of toilet paper that you will have humidified, and place your seeds on it. Seal them as if in a diaper, then put the whole thing in a resealable plastic bag.
Store it in a freezer at about 5° C. If you have a lot of seeds, do the same thing, but with a cheesecloth bag.
Every week, check to see if the seed has sprouted. If it is the case, it will have cracked and let appear a small root.
You can then replant it in a pot or a tube. To know when to plant your seeds, you need to know what type of pine you are dealing with, and under what conditions it grows.
2. In a pot:
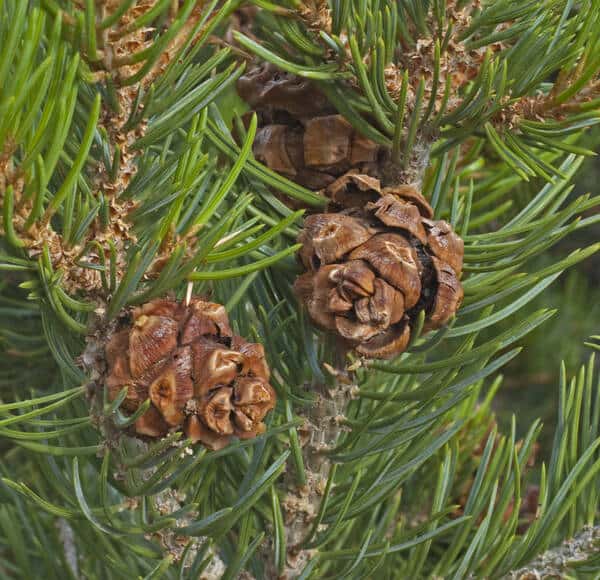
To sprout a pine cone in a pot, get a pine cone to start. You can pick one up in the forest, but avoid pine cones that are still green.
Place your pine cone in a pot. Don’t plant it in. Make sure that half of the pine cone is in the ground, and the other half is out in the open.
Water moderately every day, with small amounts of water.
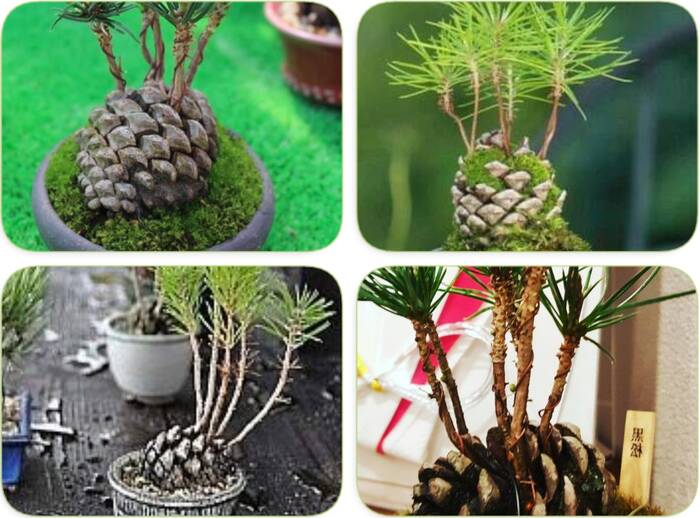
After a while (days or weeks), you will see a small tree on your pine cone. It will have started to sprout.
3. pine cone in dirt
Planting a pine cone in the ground may still require the use of a pot.
First, of course, you need to get some pine cones. During your walk in the forest, collect some. Make sure the one you choose still has seeds inside. Once you are sure, put it in a pot on top of some soil. Add soil between the scales of your pine cone as well.
Watering should be daily, but not heavy. The most important thing is to keep the soil moist. For this, depending on the type of soil, a few drops of water or a small net will be sufficient.
You will see your tree grow in size over time. Re-pot it in larger and larger pots to ensure it has the space it needs.
It’s important to remember that there are different types of pine trees. Adapt your maintenance routine to the type of pine you will have.
IV. Why pine cones reseal
In an experiment with pine cones, it was discovered that they tended to reseal when exposed to a certain amount of moisture.
These pine cones were put in glasses of water or immersed in jars. While their scales were completely open, they soon closed up completely.
The experiment revealed that the pine cones were trying to protect their seeds. The pine cone seeds are in danger of being drowned and thus failing to produce new pine trees.
It appears that this obstruction of the pine scales is a means of preserving the species.
For the same reasons, pine cone scales are found to open easily in warm weather. The seeds they contain are thus disseminated into the air, a process that gives them a better chance of germinating far from their original tree.
V. How to take care of a pine semi
Get into the habit of regularly mulching around your semi. Use wood shavings, and push them in a few inches deep, leaving some space around the semi.
Avoid plastic barriers around mulch, as they will prevent the water and air the plant needs to circulate. If you come across weeds, pull them out.
Watering should be based on your type of pine, climate, and soil. It is important not to saturate already wet soil with water.
Therefore, spare the soil that stands on its own when you take handfuls of it in your hand. On the other hand, crumbling soil will need a lot of water.
Water until the soil is moist. Focus on the water in the fall or during dry winters.
Watering during the first season will prepare the tree for winter. During dry winters, watering will protect the seedlings from drought.
It is important to protect your seedlings from animals. For this, you can use a plywood sunshade, which can help keep animals away.
But it all depends on the type of animals. If your area is home to deer and other large animals, then consider something else.
Plastic tubing or wire mesh around your seedlings, for example, might be a good idea.
Besides animals, your seedlings also need to be protected from pests. The usual hazards for pine trees are weevils, bark beetles, and monochams.
These are risks to the health of your seedlings. They can give it pine nematodes. Even though your pines won’t die from them, they will be affected.
You can use a fungicide or insecticide to control these pests.
Be careful to kill the larvae under the bark of the pines, repeating the operation several times.
It is also possible to take care of the well-being of your pines, and thus prevent them from attracting pests.
Pests are more likely to attack pines in poor health. To do this, plant them in medium soil. Their roots will develop better and faster. As soon as a branch is dead or dying, cut it off.
If your pine is attacked by a boring insect or damaged, uproot it.
Only if a branch is diseased or already dead should you prune it. Do this by leaving the “branch collar,” a space between the branch and the trunk.
VI- How to transplant a pinon tree?
A few days after planting your pine cone in your small pot, you will see little stems coming out.
Continue to treat it, taking care to water it as it should be.
That is, don’t let it die of thirst, and don’t overwhelm it with water to the point of suffocating its roots and rotting them.
So please have a relatively humid soil and put a few glasses of water every time it tends to dry.
Please also protect it from animals that might mistake it for grass.
Wait until it can reach 20 to 30 cm long before thinking of transplanting it in a bigger pot or putting it directly in the ground. Because while growing in this small protective pot, the roots will occupy all the space and risk suffocating.
When you start transplanting, please remove it gently from its first pot, taking care not to break its roots too much.
Then prepare the soil or a larger pot.
In case the transplantation will be done in a pot, take another one at least 2 or 3 times bigger and change the peat, sand, and potting soil. Water sufficiently on the first day and mulch around the developing tree.
In case the transplant is directly into the soil, then make a large hole of at least 40 cm to allow the roots to make their way into the soft, worked soil.
Water deeply enough to make the roots want to go to the bottom of the hole to get water and allow them to take root.
VII- what does a pinon tree look like
1. Coulter Pine (Pinus coulteri)
2. sugar pine (Pinus lambertiana)
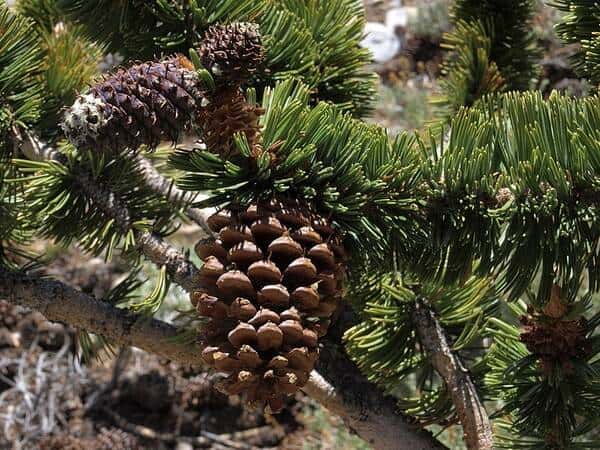
3. Bristlecone pine (Pinus longaeva)
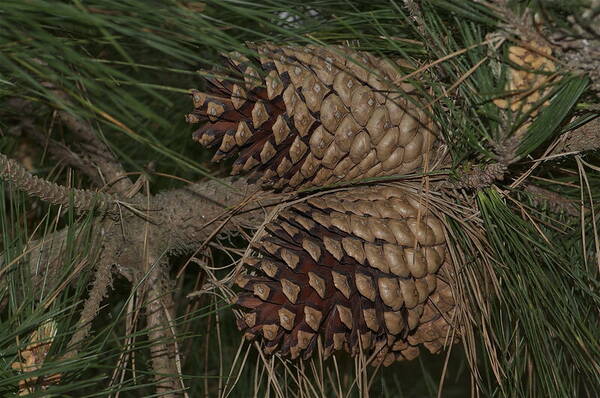
4. Monterey Pine (Pinus radiata)
5. Pinyon Pine (Pinus edulis)